Are you captivated by the beauty of geometric patterns and looking for a way to unleash your creativity? “Design Geometric Patterns with Grasshopper” introduces an exciting journey into the world of visual programming with Rhino 3D, where your design ideas can come to life with precision and sophistication.
Dive into this blog post to discover how you can transform simple shapes into complex, mesmerizing patterns that not only enhance your design skills but also bring a new level of aesthetic appeal to your projects.
Table of Contents
What is a Geometric Pattern?
A geometric pattern is a design consisting of geometric shapes and typically repeated or stylized across a surface or structure. These patterns can be simple or complex, featuring a variety of shapes such as circles, squares, triangles, hexagons, and more, often in a repeating or symmetrical arrangement. Geometric patterns are found in art, architecture, textiles, and various forms of decoration and design across many cultures and time periods.
They are characterized by their precise and regular form and are used for various purposes, including decorative, symbolic, and functional. For instance, geometric patterns are prominent in Islamic art, where they symbolize the infinite nature of the universe, and in modern design, where they can add structure and interest to a space without representing any specific object or idea.
The beauty of geometric patterns often lies in their simplicity and the balance and harmony they bring to a design. They can be created by hand or with the aid of computer software, allowing for intricate and detailed designs that can be replicated with high accuracy.
How to draw geometric patterns?
Drawing geometric patterns can be both a simple and complex endeavor, depending on the intricacy of the design you wish to create. Here’s a basic guide to get you started, along with some tips for more complex designs:
Starting Simple
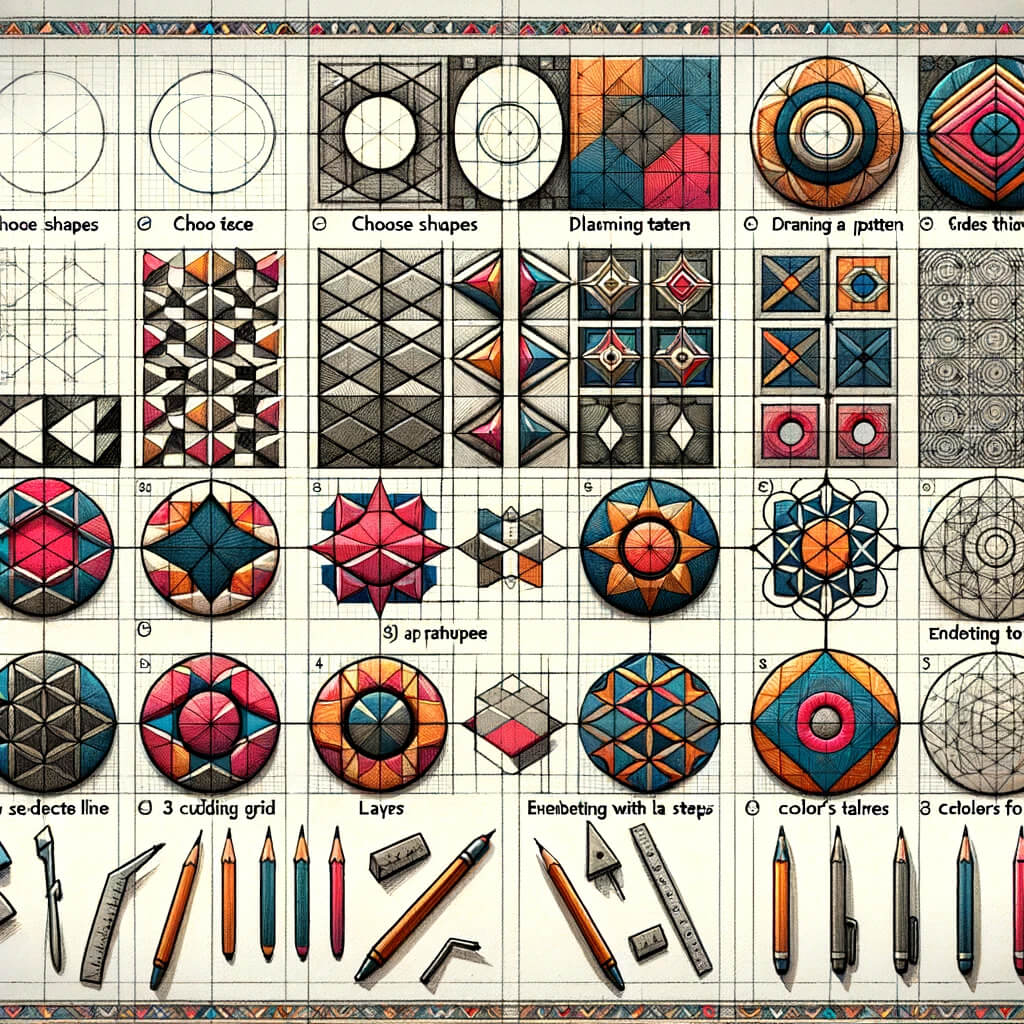
- Choose Your Shapes: Decide on the geometric shapes you want to use (e.g., squares, triangles, circles).
- Sketch a Grid: For patterns based on straight lines, like squares or triangles, start by sketching a grid to guide your pattern. For circular patterns, you might start with a central point and sketch concentric circles around it.
- Plan Your Pattern: Before drawing, plan how your shapes will repeat or interlock. Simple patterns might just repeat the same shape, while more complex ones might involve alternating shapes or sizes.
- Begin Drawing: Start drawing your shapes, using the grid as a guide. A ruler (for straight lines) or a compass (for circles and arcs) can help achieve precision.
- Add Details and Layers: Once the basic shapes are down, add any desired details or additional layers of shapes to create depth.
Going More Complex
- Tessellations: These are patterns made of shapes that fit perfectly together without any gaps or overlaps. Tessellations can be simple (like a checkerboard) or highly complex (like those found in Islamic art). To create a tessellation, start with a single shape that can be repeated in such a way that it covers an entire plane.
- Fractals: Fractals are patterns that repeat at different scales. They are complex but can be started simply by repeating a motif in a way that it becomes smaller and smaller, maintaining the same shape.
- Using Geometry Tools: Tools like protractors and compasses can help in creating precise angles and perfect circles. Software tools can also aid in planning and executing complex geometric patterns.
- Incorporating Mathematical Principles: Some geometric patterns, especially in Islamic art, are based on complex mathematical principles. Understanding these can provide a deeper insight into creating harmonious and complex patterns.
Tips
- Symmetry and Balance: Pay attention to the symmetry and balance of your pattern. Even in complex patterns, maintaining a sense of harmony is key.
- Practice and Patience: Intricate geometric patterns require practice and patience. Start simple and gradually work your way up to more complex designs.
- Inspiration: Look at different sources of geometric patterns for inspiration. Islamic art, mandalas, and even nature are full of complex geometric designs.
Experiment and Explore
As you become more comfortable with basic patterns, start experimenting with combining shapes, overlapping patterns, and introducing colors or shading to add depth and interest. The beauty of geometric patterns is that even simple shapes can be transformed into stunning designs with a bit of creativity and precision.

How to draw 3d geometric patterns?
Drawing 3D geometric patterns combines the principles of geometry with the illusion of depth to create captivating designs that seem to extend beyond the two-dimensional plane. Here’s a structured approach to help you get started:
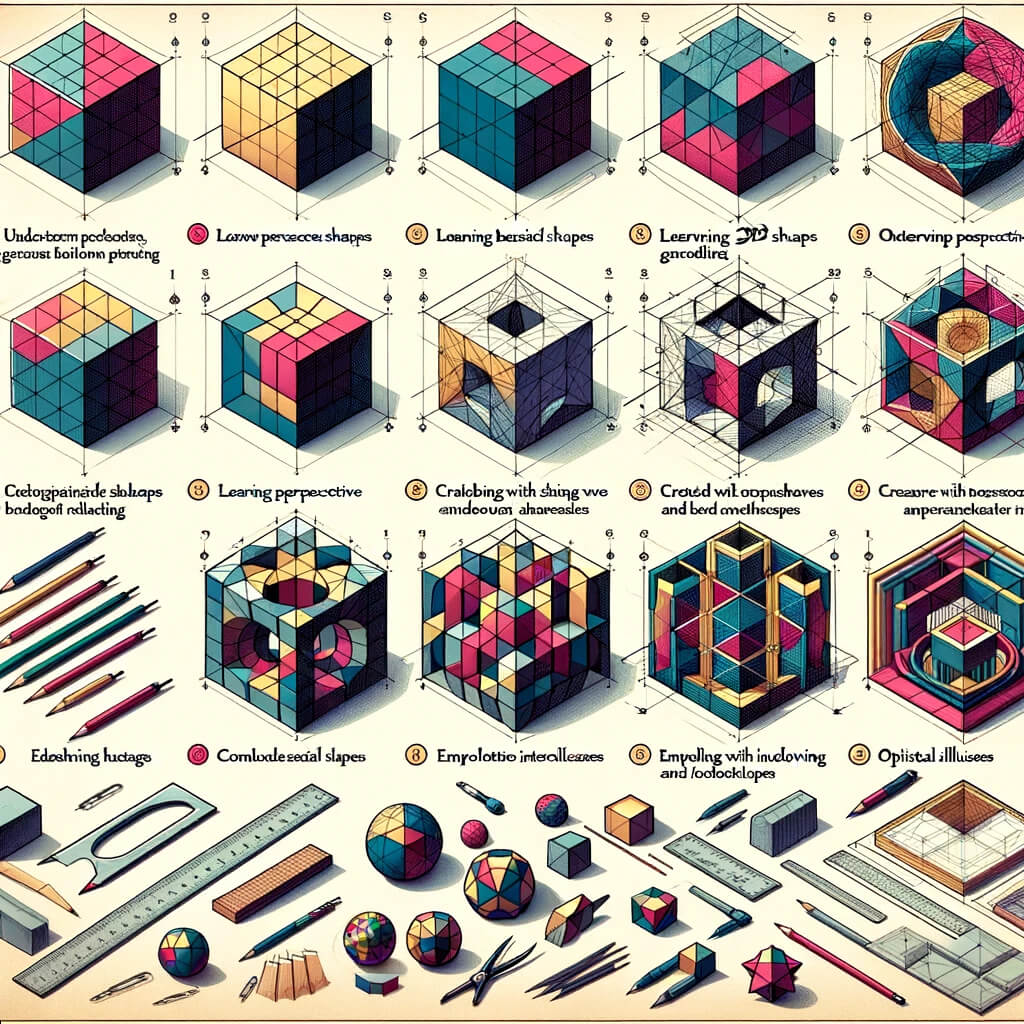
1. Understand the Basics of 3D Shapes
- Familiarize Yourself with Basic 3D Shapes: Understand how to draw basic 3D shapes like cubes, spheres, cylinders, cones, and pyramids. These will serve as the building blocks for more complex patterns.
2. Learn Perspective Drawing
- One-Point Perspective: Objects are drawn with a single vanishing point on the horizon line. This is great for drawing objects that face the viewer directly.
- Two-Point Perspective: Objects have two vanishing points on the horizon line, which is useful for drawing objects at an angle.
- Three-Point Perspective: Adds a third vanishing point, typically up or down, creating a more dramatic sense of depth. This is used for high or low viewpoints.
3. Start Simple and Gradually Add Complexity
- Begin by drawing simple 3D geometric shapes in perspective. Practice drawing cubes, spheres, and other basic forms from different angles.
- Try creating patterns with these shapes by repeating them across a surface, ensuring to maintain the correct perspective for each object.
4. Create Depth with Shading and Shadowing
- Shading: Add shading to your shapes to give them volume. The direction and intensity of light affect the appearance of depth.
- Shadowing: Draw shadows that your objects cast on the ground or on other objects. This helps anchor them in space and enhances the 3D effect.
5. Experiment with Interlocking Shapes
- Once comfortable with simple shapes, start interlocking them to create more complex patterns. Consider how the shapes would connect in a three-dimensional space.
- Pay attention to how edges meet and how shapes can nest within each other, maintaining a consistent perspective throughout.
6. Incorporate Optical Illusions
- For an added challenge, try incorporating optical illusions into your patterns. Escher-like designs where the geometry bends in impossible ways can be very intriguing but require a good understanding of perspective and spatial reasoning.
7. Use Tools and Technology
- Drawing Tools: Use rulers, compasses, and templates to ensure precision in your drawings.
- Digital Tools: Software like Adobe Illustrator or Blender can be invaluable for creating complex 3D geometric patterns, allowing for precise control and manipulation of shapes.
Tips for Practice
- Sketch Frequently: Practice drawing 3D geometric shapes and patterns regularly to improve your spatial understanding and technical skills.
- Study from Real Life: Observe how objects behave in space, how light affects form, and how shadows fall. This real-world observation will enhance your ability to depict 3D forms.
- Be Patient and Experiment: Developing the skill to create complex 3D geometric patterns takes time and experimentation. Don’t be afraid to try new techniques or start over if something doesn’t look right.
Drawing 3D geometric patterns is a skill that combines artistic creativity with mathematical precision. By practicing and gradually challenging yourself with more complex designs, you can develop the ability to create stunning three-dimensional artwork.

How can geometric figures be used to model numerical patterns?
Geometric figures can be used to model numerical patterns in various compelling ways, providing a visual representation of sequences, relationships, and mathematical concepts. This approach can make understanding numerical patterns more intuitive and engaging. Here are several ways geometric figures are employed to model numerical patterns:
1. Arithmetic Sequences Using Lines or Rectangles
Arithmetic sequences, where each term differs from the next by a constant amount, can be modeled using lines or rectangles. For instance, a set of rectangles with increasing or decreasing lengths in equal increments can visually represent the sequence. The length of each rectangle corresponds to each term in the sequence.
2. Geometric Sequences with Squares or Circles
Geometric sequences, where each term is multiplied by a constant to get the next term, can be represented using shapes like squares or circles, where the area of each shape represents each term in the sequence. For example, a series of squares where each square’s side length is doubled to represent the next term visually demonstrates exponential growth.
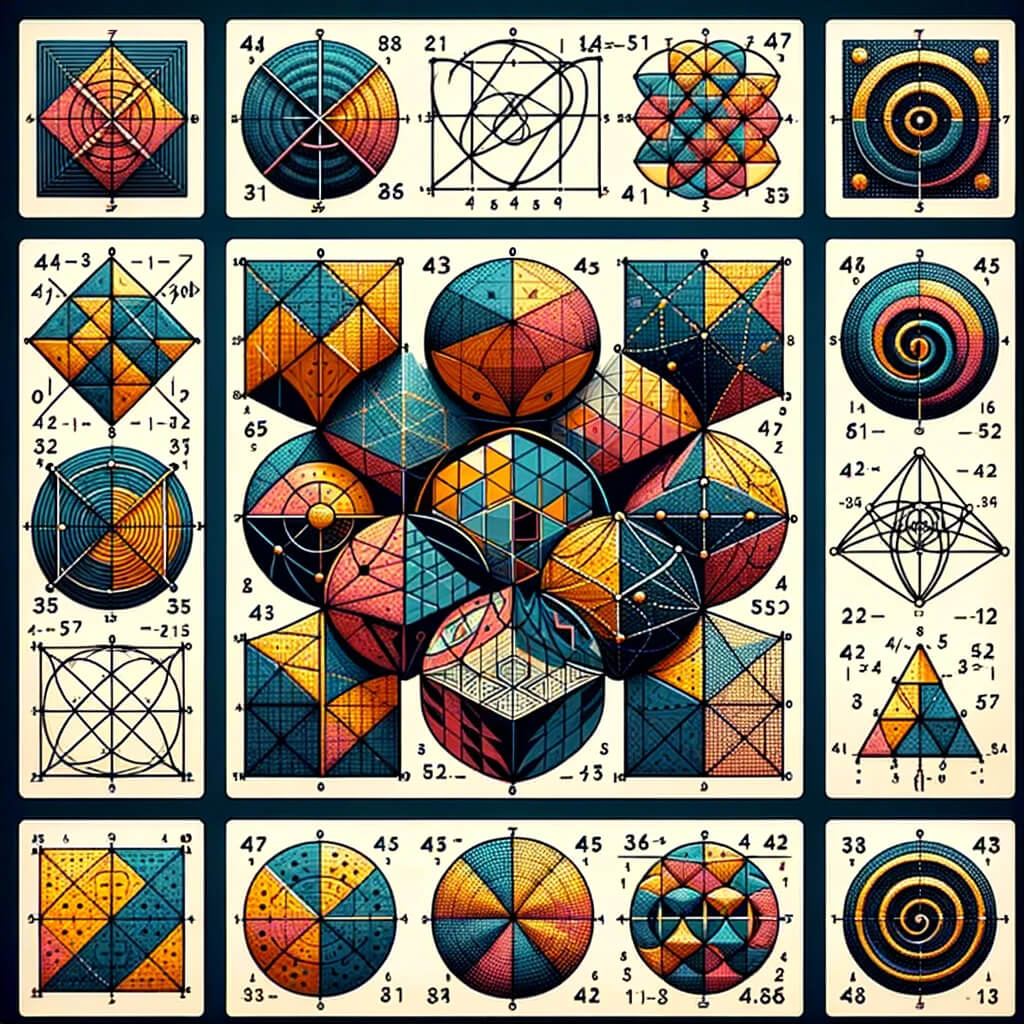
3. The Fibonacci Sequence with Spirals
The Fibonacci sequence, a famous numerical pattern where each number is the sum of the two preceding ones, can be modeled using spirals. This is often depicted using rectangles whose lengths correspond to Fibonacci numbers, arranged to form a spiral pattern. This model is not just mathematical but also appears in nature, such as in the arrangement of leaves on a stem or the pattern of seeds in a sunflower.
4. Prime Numbers and Ulam’s Spiral
Prime numbers can be visualized using Ulam’s Spiral, a graphical depiction where natural numbers are arranged in a spiral pattern. Prime numbers tend to cluster along diagonal lines in this arrangement, providing insights into the distribution of primes.
5. Pascal’s Triangle for Binomial Expansions
Pascal’s Triangle is a geometric arrangement of numbers in a triangular format where each number is the sum of the two numbers directly above it. This triangle visually represents binomial expansions, and the coefficients in binomial expressions, and has connections to combinatorics and probability.
6. Pythagorean Triples with Right-Angled Triangles
Pythagorean triples, sets of three integers that satisfy Pythagoras’ theorem, can be represented using right-angled triangles. The sides of the triangles correspond to the numbers in the triples, visually demonstrating the theorem’s relationship between the lengths of a right triangle’s sides.
Implementing These Models
To use geometric figures to model numerical patterns effectively:
- Draw or construct the geometric figures according to the rules of the numerical pattern you’re exploring.
- Analyze the geometric representation to uncover properties or insights about the numerical pattern, such as growth rates, relationships between terms, or distribution patterns.
- Use software or manipulatives for complex patterns. Tools like dynamic geometry software can be particularly useful for exploring and visualizing these patterns.
Modeling numerical patterns with geometric figures not only aids in understanding and teaching mathematical concepts but also highlights the intrinsic beauty and interconnectedness of mathematics with the visual world.

How to Design Geometric Patterns with Grasshopper?
Designing geometric patterns with Grasshopper, a visual programming language integrated with Rhino 3D, allows architects, designers, and hobbyists to create complex patterns and shapes that would be difficult to model using traditional CAD software alone. Grasshopper’s strength lies in its ability to let users create designs through the manipulation of algorithms, essentially using code as a medium for design. Here’s a beginner-friendly guide to get started with designing geometric patterns in Grasshopper:
1. Get Familiar with the Interface
- Canvas: The main area where you’ll drag and drop components to build algorithms.
- Components: The building blocks of Grasshopper logic, which can be found in the tabs at the top of the interface. They perform operations like creating shapes, transforming objects, and defining patterns.
- Parameters: Inputs for components that you can adjust to change the output dynamically.
2. Start with Basic Shapes
- Use components under the
Geometrytab to create basic shapes like points, lines, circles, or rectangles. These will serve as the foundation for your pattern. - Experiment with different parameters to see how they affect the shape’s size, position, and orientation.
3. Create a Pattern
- Repetition: Use components like
Series(found underSets>Sequence) to create a sequence of numbers that can control the distribution of your shapes, creating a repeating pattern. - Transformation: Apply transformations such as
Move,Rotate, andScale(found underTransform) to manipulate your shapes into more complex arrangements or patterns. - Array: Utilize the
Arraycomponents to replicate your shapes in a grid or along a path, forming a more complex pattern.
4. Use Data Trees for Complex Patterns
- Understand that Grasshopper uses data trees to manage complex sets of data. This allows for intricate patterning and data manipulation.
- Use components like
Graph Mapper(underInput) to visually manipulate data streams, affecting how patterns grow, shrink, or vary.
5. Explore Advanced Geometric Operations
- Dive into more complex geometric operations like
Voronoi,Delaunay, andMeshoperations to create intricate patterns based on mathematical principles. - Use the
PanelingToolsplugin for Rhino and Grasshopper to generate complex patterns and paneling systems on surfaces.
6. Incorporate Logic and Conditionals
- Use
Logiccomponents to introduce decision-making into your algorithm, allowing for more dynamic and responsive designs. - Implement conditionals like
If Elsestatements to change the flow of data based on specific criteria, adding variety and complexity to your patterns.
7. Refine and Finalize Your Design
- As you refine your design, continuously adjust parameters and components to achieve the desired outcome.
- Use the
Bakefunction to bring your Grasshopper geometry into the Rhino environment for further editing or to prepare it for fabrication.
Tips for Learning and Designing
- Start Small: Begin with simple patterns and gradually introduce more complexity as you become comfortable with Grasshopper’s logic.
- Explore Tutorials: There are many online tutorials and forums where you can learn specific techniques or solve design problems encountered by others.
- Experiment: Don’t be afraid to experiment with different components and settings. Grasshopper’s visual feedback makes it easy to see the effects of your changes in real-time.
Designing geometric patterns with Grasshopper is a powerful way to explore parametric design and computational geometry. By mastering the basics and progressively delving into more complex operations, you can create intricate and beautiful patterns that are both mathematically precise and aesthetically compelling.
Conclusion
Designing geometric patterns with Grasshopper offers an innovative approach to creating intricate and beautiful designs that bridge the gap between art and mathematics. By harnessing the power of visual programming within Rhino 3D, designers can unlock a new realm of creativity and precision, allowing for the exploration of complex patterns that were once beyond reach.
This journey from basic shapes to advanced geometric operations not only enhances our appreciation for the beauty inherent in mathematics but also expands our toolkit for architectural and design projects, promising endless possibilities for those willing to explore.


