Are you ready to unleash the full potential of your designs with Grasshopper Animation? Imagine transforming your static models into dynamic, captivating visual stories that highlight the evolution of your concepts in real-time. Dive into our comprehensive guide to discover the essential plugins and step-by-step techniques that will elevate your Grasshopper projects from impressive to unforgettable, making your designs not just seen, but truly experienced.
Table of Contents
Grasshopper Animation Plugin
For more advanced or specific animation needs in Grasshopper, there are several plugins available that can extend the native animation capabilities. These plugins offer a range of features from simple motion animations to complex simulations and time-based data visualizations. Here are a few notable ones:
1. Bongo
- Description: Bongo is a Rhino plugin that adds animation capabilities to Rhino and Grasshopper, allowing for the animation of objects, parameters, and simulations within a Rhino environment. It provides timeline-based animation, making it easier to control the flow and timing of your animation.
- Features: Keyframe animation, easy timeline management, and integration with Rhino’s rendering capabilities to produce high-quality animations.
- Use Case: Ideal for architectural visualizations, product design animations, and any scenario where smooth, timeline-based animations are required.
2. Kangaroo Physics
- Description: While primarily a physics simulation tool, Kangaroo Physics allows for dynamic simulations that can be recorded and exported as animations. It’s integrated into Grasshopper and enables real-time interaction with the geometry.
- Features: Simulation of physical behaviors like collisions, springs, goals, and constraints which can be captured as animations.
- Use Case: Perfect for animations that require realistic physical interactions, such as fabric simulation, structural behavior under load, or objects in motion influenced by physical forces.
3. Anemone
- Description: Anemone adds loop and iteration capabilities to Grasshopper, allowing for complex, iterative processes that can be animated over time.
- Features: Simple loop start and end components that enable iterative calculations and the ability to visualize these iterations as animations.
- Use Case: Useful for showing the evolution of designs over iterations, such as growth algorithms, optimization processes, or any scenario where the step-by-step development is of interest.
4. GhopperGIS
- Description: Though not exclusively an animation plugin, GhopperGIS can handle geographical data within Grasshopper, and its capabilities can be used to create animations involving geographic information and transformations.
- Features: Management and manipulation of geographic data, which can be animated to show changes over time or movement across geographical spaces.
- Use Case: Ideal for urban planning visualizations, environmental impact animations, and any project where geographic data plays a central role.
Installing Plugins
To install these plugins, you typically download them from the developer’s website or platforms like Food4Rhino, and then drag the downloaded files into the Grasshopper window to install them. Ensure that the plugin is compatible with your version of Rhino and Grasshopper. Some plugins might also require additional steps for activation or setup, so refer to the documentation provided by the plugin developers.
These plugins can significantly enhance the animation capabilities within Grasshopper, each serving different needs from physics simulations to geographic data visualization. Depending on your specific requirements, these tools can help bring your Grasshopper models to life with dynamic and engaging animations.
How to create a simple animation in Grasshopper?
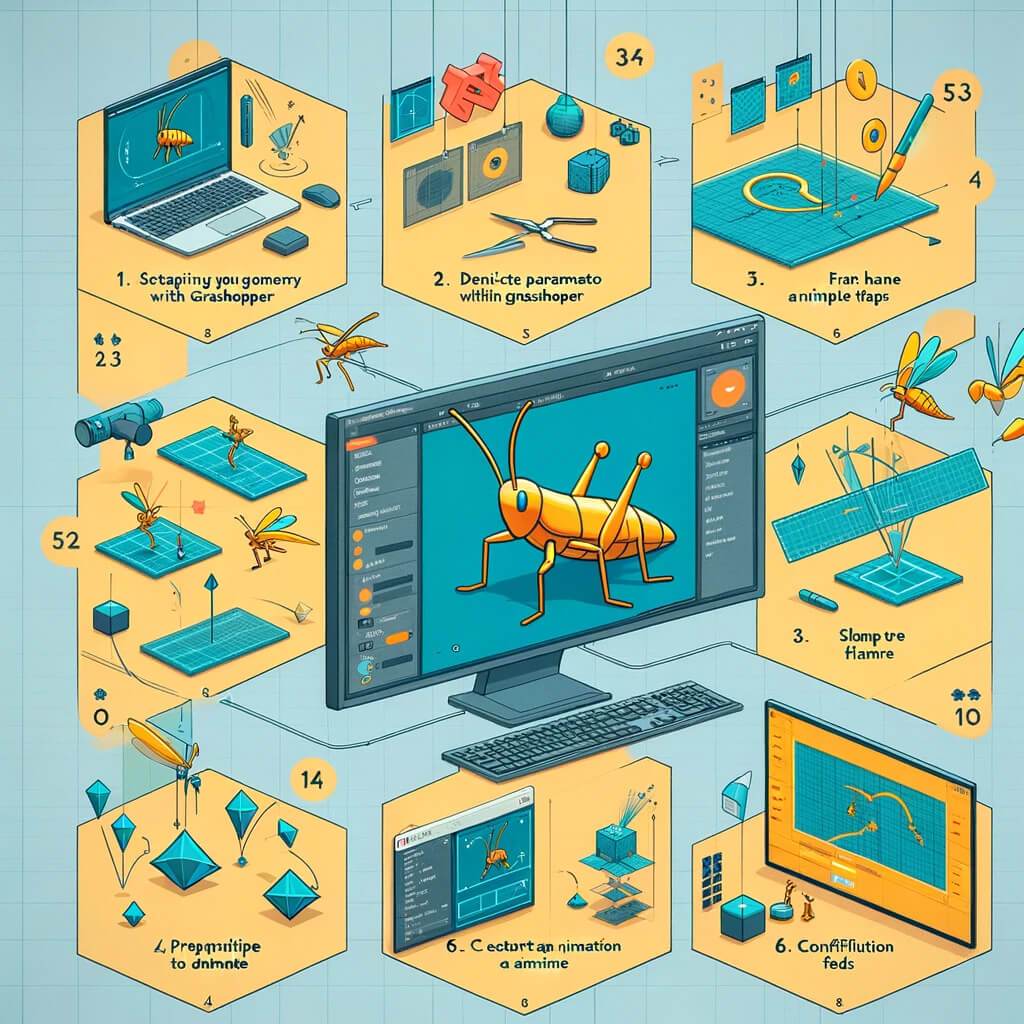
Creating a simple animation in Grasshopper, which is a visual programming platform used in conjunction with Rhino3D, involves a few straightforward steps. You’ll typically animate a parameter or a series of parameters to show how changing those parameters affects your Grasshopper definition. Here’s a basic process:
Step 1: Setup Your Geometry
- Open Grasshopper: Launch Grasshopper within Rhino.
- Create Your Definition: Build a definition you’d like to animate. This could be anything from a simple geometry transformation (like moving a point along a curve) to more complex operations.
Step 2: Identify Parameters to Animate
- Choose a Parameter: Identify the slider (or any parameter) that you want to animate. This could control anything from the size, position, rotation, etc., of your geometry.
- Set Min and Max Values: Ensure your slider has the minimum and maximum values set to the range you want to animate within.
Step 3: Prepare for Animation
- Right-click the Slider: Right-click on the slider you intend to animate.
- Select ‘Animate’: In the context menu that appears, there should be an “Animate” option. Clicking this will open the animation settings dialog.
Step 4: Configure Animation Settings
- Frame Range: Set the range of frames you want to capture. This typically starts at 0.
- Resolution: Choose the resolution of the images. Higher resolutions will take longer to render but will be of higher quality.
- Folder: Specify a location on your computer where the frames will be saved. Grasshopper will generate one image file per frame.
Step 5: Start Animation
- Click OK: After configuring your settings, click OK to start the animation process. Grasshopper will now step through the slider values from the minimum to the maximum, capturing an image at each step.
- Wait: Depending on the complexity of your definition and the number of frames, this process might take some time.
Step 6: Compile the Frames into a Video
- After all frames have been generated and saved as images, you’ll need to compile them into a video. This can be done using video editing software or online services that can stitch images together into a video. Common tools include Adobe Premiere, After Effects, or free options like FFmpeg for more technical users.
Notes
- Animation Viewer: Grasshopper has an animation viewer that you can use to preview your animation before exporting.
- Performance: Keep in mind that complex definitions will take longer to compute each frame, so it may be beneficial to simplify your model for the animation if possible.
- Advanced Techniques: As you get more comfortable with basic animations, you can start to explore more complex ones by animating multiple parameters or using data streams to influence the animation dynamically.
This is a general guideline for creating a simple animation. The specifics might vary depending on the version of Grasshopper and Rhino you’re using and the details of your project.
Is Rhino good for animation?
Rhino, by itself, is primarily a 3D modeling software popular in architecture, industrial design, and jewelry design. Its core strengths lie in creating, editing, analyzing, documenting, rendering, animating, and translating NURBS* curves, surfaces, and solids, point clouds, and polygon meshes. When it comes to animation, Rhino offers basic capabilities that can be significantly expanded with plugins.
Basic Animation Capabilities in Rhino
- View Animation: Rhino allows you to create basic animations by moving through predefined views or along a path. This can be useful for architectural walk-throughs or simple presentations of a model from different perspectives.
- Turntable Animation: Creating a 360-degree rotation of a model is straightforward in Rhino, allowing for a comprehensive view of an object.
Limitations for Complex Animations
- Limited Timeline Control: Rhino’s native animation tools do not offer an advanced timeline, keyframes for detailed control over the animation, or easing functions that you might find in dedicated animation software.
- No Character Animation: Rhino is not designed for character animation or complex motion dynamics.
- Rendering: While Rhino’s rendering capabilities can produce high-quality images, rendering animations directly in Rhino can be time-consuming, and the software lacks advanced rendering features found in specialized animation software.
Expanding Capabilities with Plugins
- Bongo: The most notable plugin to enhance Rhino’s animation capabilities is Bongo. Bongo integrates seamlessly with Rhino, adding a timeline, keyframe animation, and more sophisticated control over animations. With Bongo, designers can create complex animations within the Rhino environment, including moving parts, changing materials, and camera movements.
- Grasshopper: For parametric design projects, Grasshopper (Rhino’s visual programming tool) can also be used to create animations, especially when combined with plugins like Anemone for loops or Kangaroo Physics for simulations. These can then be turned into animations to illustrate design evolution or dynamic behaviors.
When Rhino is Good for Animation
- Architectural Visualizations: For creating walk-throughs or fly-overs of architectural models.
- Design Presentations: Showcasing the evolution of a design or different configurations of a product.
- Educational Purposes: Demonstrating mechanical movements or explaining design concepts.
- Parametric and Simulation Animations: With the help of Grasshopper and its plugins, creating animations based on parametric design changes or physical simulations.
While Rhino is not a dedicated animation software and may not be suitable for character animation or high-end cinematic animations, it is quite capable when it comes to creating animations of 3D models, especially for architectural visualizations, product designs, and educational content. The availability of plugins like Bongo and the power of Grasshopper further enhance its animation capabilities, making it a useful tool for designers and architects who want to animate within the context of their 3D modeling workflow.
Conclusion
Through this comprehensive guide, we’ve navigated the terrain of Grasshopper animation, highlighting essential plugins like Bongo, Kangaroo Physics, Anemone, and GhopperGIS that significantly expand Grasshopper’s native animation functions. We’ve also detailed a step-by-step process for creating simple animations within Grasshopper, showcasing the software’s versatility in bringing parametric models to life. Ultimately, with Rhino’s foundational 3D modeling capabilities complemented by Grasshopper’s parametric tools and the added power of animation plugins, designers have a robust platform for crafting dynamic, engaging visualizations across various disciplines.

